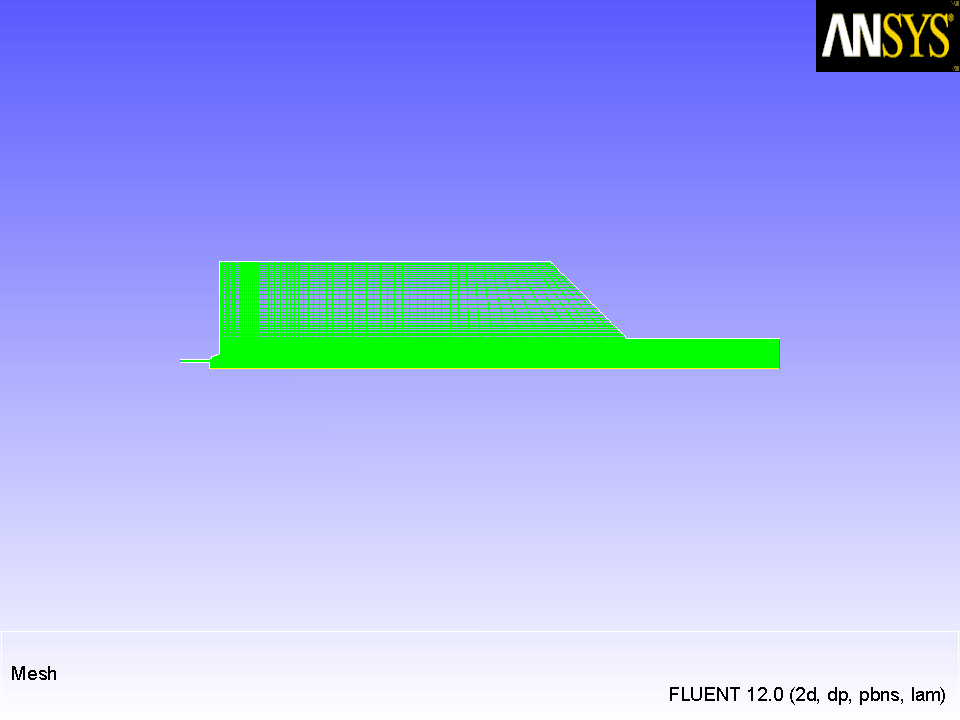
ANSYS FLUENT will perform various checks on the mesh and will report the progress in the console. Ensure that the reported minimum volume is a positive number.
2.
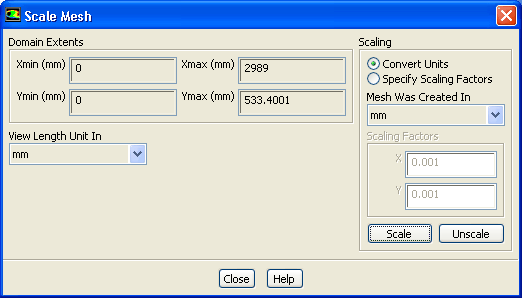
Scale the mesh.
GeneralScale...
(a)
Select
mm from the
View Length Unit In drop-down list.
All dimensions will now be shown in millimeters.
(b)
Select
mm from the
Mesh Was Created In drop-down list in the
Scaling group box.
(c)
Click
Scale to scale the mesh.
(d)
Close the
Scale Mesh dialog box.
3.
Check the mesh.
GeneralCheck
Note:
It is a good idea to check the mesh after you manipulate it (i.e., scale, convert to polyhedra, merge, separate, fuse, add zones, or smooth and swap.) This will ensure that the quality of the mesh has not been compromised.
Due to the mesh resolution and the size of the domain, you may find it more useful to display just the outline, or to zoom in on various portions of the mesh display.
Extra:
You can use the mouse zoom button (middle button, by default) to zoom in to the display and the mouse probe button (right button, by default) to find out the boundary zone labels. The zone labels will be displayed in the console.
5.
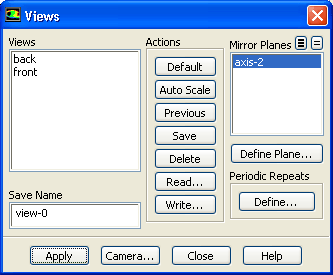
Mirror the display about the symmetry plane.
Graphics and AnimationsViews...
(a)
Select
axis-2 from the
Mirror Planes selection list.
(b)
Click
Apply and close the
Views dialog box.
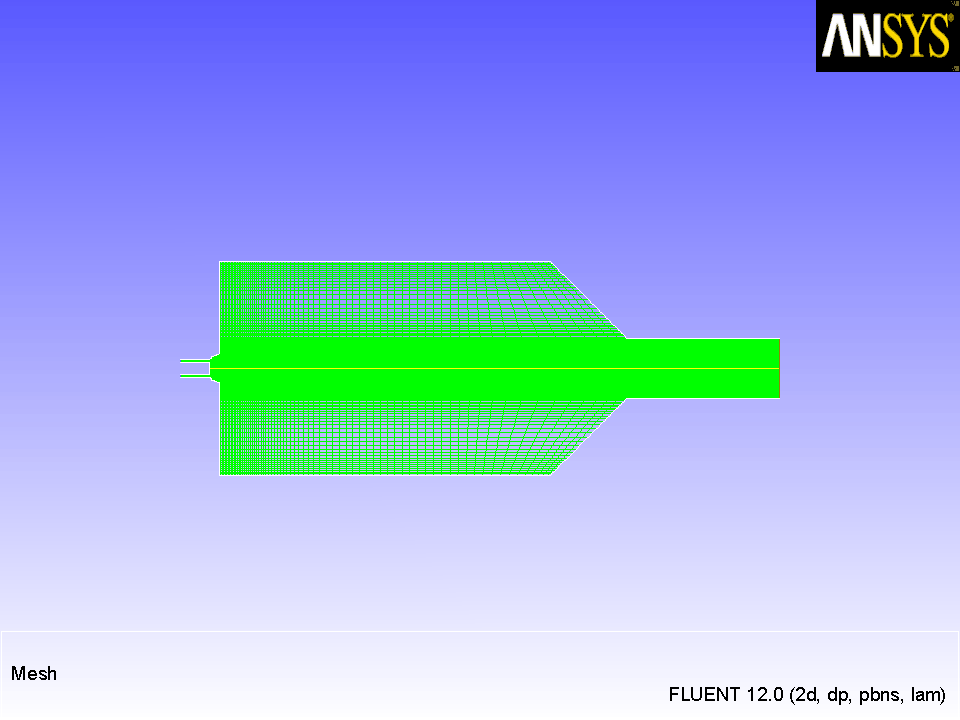
The full geometry will be displayed, as shown in Figure
15.4
.
Figure 15.4: 2D BERL Combustor Mesh Display Including the Symmetry Plane
6.
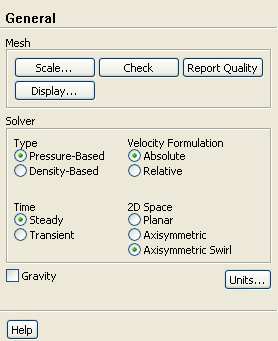
Change the spatial definition to axisymmetric swirl.
General
(a)
Retain the default selection of
Pressure-Based in the
Type list.
The non-premixed combustion model is available only with the pressure-based solver.
(b)
Select
Axisymmetric Swirl in the
2D Space list.
![[ANSYS, Inc. Logo]](fluentlogo.gif)


 General
 General
 Check
Check
 General
 Scale...
 General
 Check
Check
 Graphics and Animations
 Views...
 General