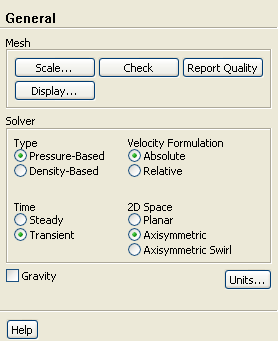
ANSYS FLUENT will perform various checks on the mesh and report the progress in the console. Make sure that the reported minimum volume is a positive number.
2.
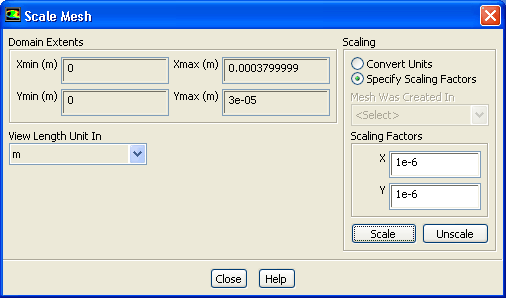
Scale the mesh.
GeneralScale...
(a)
Select
Specify Scaling Factors from the
Scaling group box.
(b)
Enter
1e-6 for
X and
Y in the
Scaling Factors group box.
(c)
Click
Scale and close the
Scale Mesh dialog box.
3.
Check the mesh.
GeneralCheck
Note:
It is a good idea to check the mesh after you manipulate it (i.e., scale, convert to polyhedra, merge, separate, fuse, add zones, or smooth and swap.) This will ensure that the quality of the mesh has not been compromised.
4.
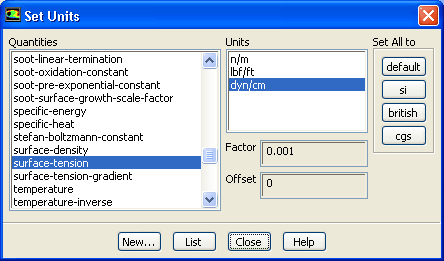
Define the units for the mesh.
GeneralUnits...
(a)
Select
length from the
Quantities list.
(b)
Select
mm from the
Units list.
(c)
Select
surface-tension from the
Quantities list.
(d)
Select
dyn/cm from the
Units list.
(e)
Close the
Set Units dialog box.
5.
Retain the default setting of
Pressure-Based in the
Solver list.
![[ANSYS, Inc. Logo]](fluentlogo.gif)


 General
 General
 Check
Check
 General
 Scale...
 General
 Check
Check
 General
 Units...
 General