- (a)
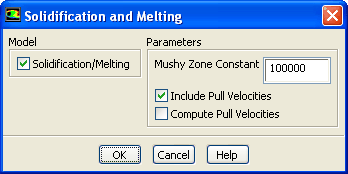
Enable the
Solidification/Melting option in the
Model group box.
-
The
Solidification and Melting dialog box will expand to show the related parameters.
- (b)
Retain the default value of
100000 for the
Mushy Zone Constant.
-
This default value is acceptable for most cases.
- (c)
Enable the
Include Pull Velocities option.
-
By including the pull velocities, you will account for the movement of the solidified material as it is continuously withdrawn from the domain in the continuous casting process.
-
When you enable this option, the
Solidification and Melting dialog box will expand to show the
Compute Pull Velocities option. If you were to enable this additional option,
ANSYS FLUENT would compute the pull velocities during the calculation. This approach is computationally expensive and is recommended only if the pull velocities are strongly dependent on the location of the liquid-solid interface. In this tutorial, you will patch values for the pull velocities instead of having
ANSYS FLUENT compute them.
For more information about computing the pull velocities, see
this section in the separate
User's Guide.
- (d)
Click
OK to close the
Solidification and Melting dialog box.
-
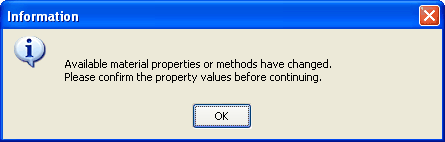
An
Information dialog box will open, telling you that available material properties have changed for the solidification model. You will set the material properties later, so you can simply click
OK in the dialog box to acknowledge this information.
![[ANSYS, Inc. Logo]](fluentlogo.gif)


 Models
 Models

 Solidification & Melting
 Edit...