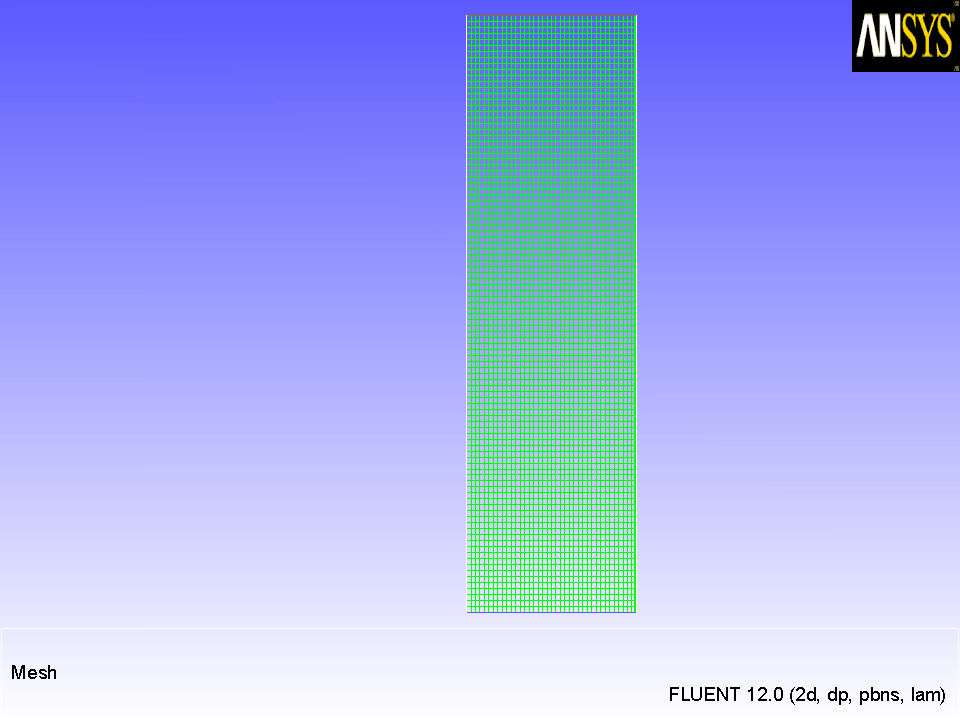
ANSYS FLUENT will perform various checks on the mesh and will report the progress in the console. Make sure that the reported minimum volume is a positive number.
Extra:
You can use the right mouse button to check which zone number corresponds to each boundary. If you click the right mouse button on one of the boundaries in the graphics window, its zone number, name, and type will be printed in the
ANSYS FLUENT console. This feature is especially useful when you have several zones of the same type and you want to distinguish between them quickly.
Figure 23.2: Mesh Display of the Fluidized Bed
3.
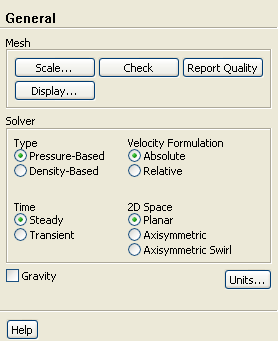
Enable the pressure-based transient solver.
General
(a)
Retain the default selection of
Pressure-Based from the
Type list.
The pressure-based solver must be used for multiphase calculations.
(b)
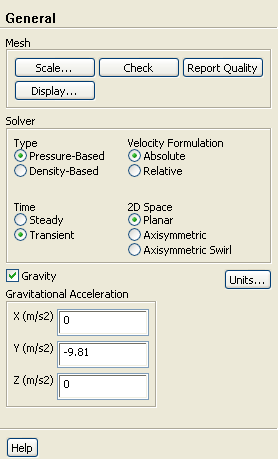
Select
Transient from the
Time list.
4.
Set the gravitational acceleration.
GeneralGravity
(a)
Enter
-9.81 m/s
for the
Gravitational Acceleration in the
Y direction.
![[ANSYS, Inc. Logo]](fluentlogo.gif)


 General
 General
 Check
Check
 General
 General

 Gravity
 for the
Gravitational Acceleration in the
Y direction.
for the
Gravitational Acceleration in the
Y direction.