[ANSYS, Inc. Logo] return to home search
next up previous contents

Step 2: General Settings

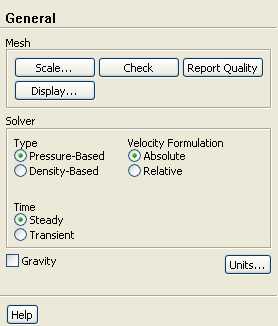
figure General

1.   Check the mesh.

figure General figure Check

   ANSYS FLUENT will perform various checks on the mesh and report the progress in the console. Ensure that the reported minimum volume is a positive number.

2.   Display the mesh.

figure General figure Display...

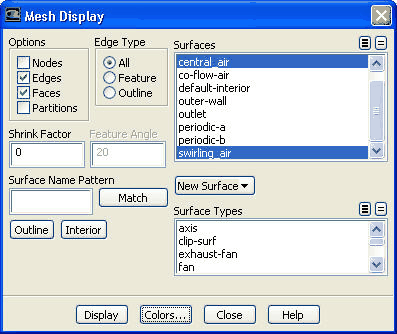
figure

(a)   Enable Faces in the Options group box.

(b)   Select only atomizer-wall, central_air, and swirling_air from the Surfaces selection list.

(c)   Click the Colors... button to open the Mesh Colors dialog box.

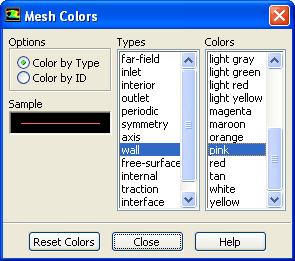
figure

i.   Select wall from the Types selection list.

ii.   Select pink from the Colors selection list.

iii.   Close the Mesh Colors dialog box.

(d)   Click Display and close the Mesh Display dialog box.

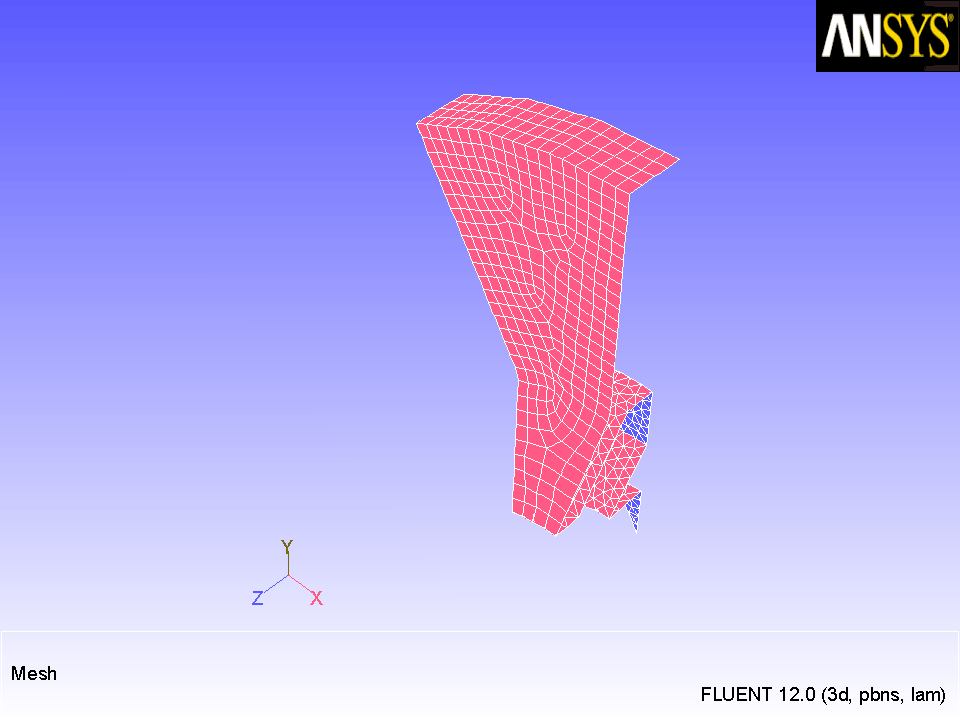
  The graphics display will be updated to show the mesh. Zoom in with the mouse to obtain the view shown in Figure  17.2.

Figure 17.2: Air-Blast Atomizer Mesh Display
figure

3.   Reorder the mesh twice.

Mesh $\rightarrow$ Reorder $\rightarrow$ Domain

  To speed up the solution procedure, the mesh should be reordered, which will substantially reduce the bandwidth.

   ANSYS FLUENT will report the progress in the console:

>> Reordering domain using Reverse Cuthill-McKee method: 
      zones, cells, faces, done.
   Bandwidth reduction = 30882/741 = 41.68
   Done.
>> Reordering domain using Reverse Cuthill-McKee method: 
      zones, cells, faces, done.
   Bandwidth reduction = 741/741 = 1.00
   Done.

4.   Retain the default solver settings.

figure General

figure


next up previous contents Previous: Step 1: Mesh
Up: Modeling Evaporating Liquid Spray
Next: Step 3: Models
Release 12.0 © ANSYS, Inc. 2009-02-09