[ANSYS, Inc. Logo] return to home search
next up previous contents

Step 3: Adding Lights

1.   Add lighting effects.

figure Graphics and Animations figure Options...

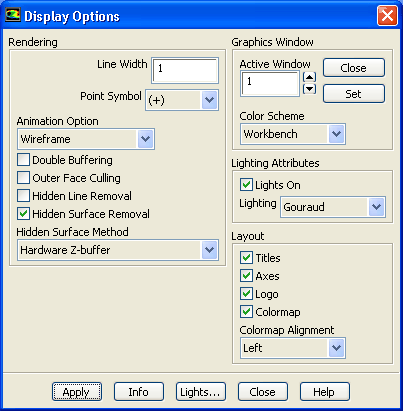
  The default light settings add a white light at the position (1, 1, 1). The default light is defined in the Lights dialog box by the Light ID 0 with Direction vectors ( X, Y, Z) as (1, 1, 1).

figure

(a)   Enable Lights On in the Lighting Attributes group box.

(b)   Select Gouraud from the Lighting drop-down list.

   Flat is the most basic lighting whereas Gouraud gives better color gradiation.

(c)   Click Apply and close the Display Options dialog box.

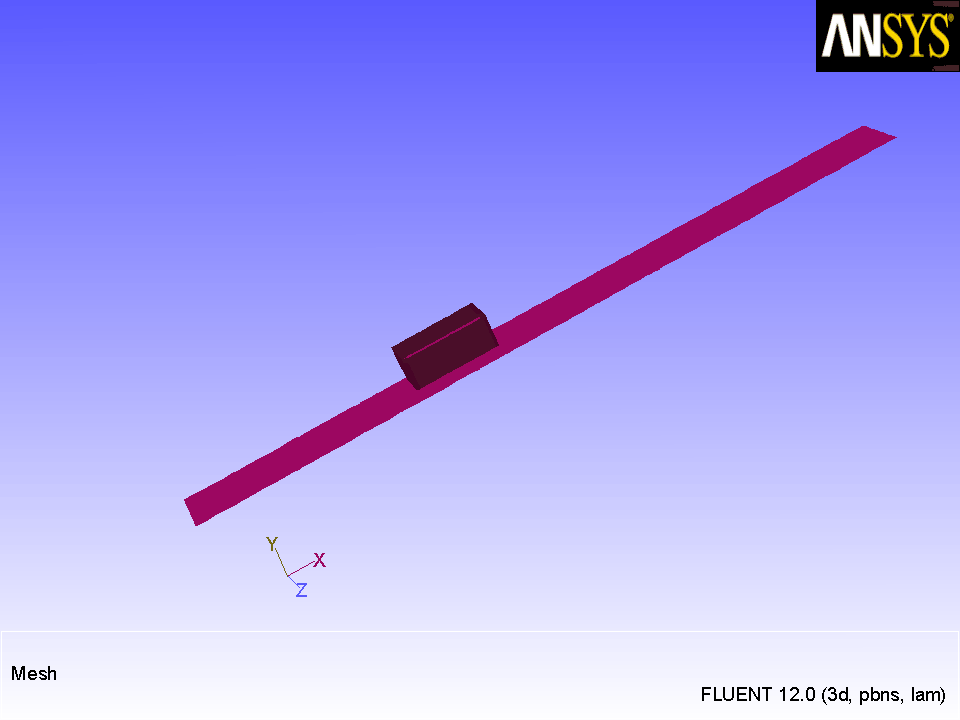
  Shading will be added to the surface mesh display (Figure  24.3).

Figure 24.3: Graphics Display with Default Lighting
figure

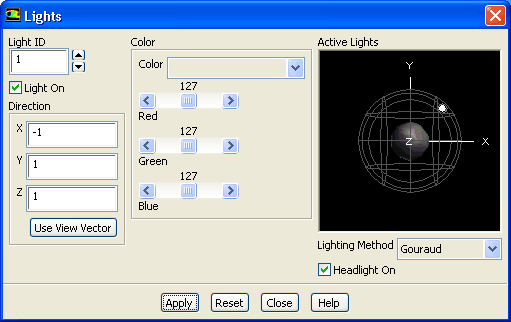
2.   Add lights in two directions, (-1, 1, 1) and (-1, 1, -1).

figure Graphics and Animations figure Lights...

figure

  You can also open the Lights dialog box by clicking the Lights... button in the Display Options dialog box.

(a)   Set Light ID to 1.

(b)   Enable Light On.

(c)   Enter -1, 1, and 1 for X, Y, and Z respectively in the Direction group box.

(d)   Retain the selection of Gouraud in the Lighting Method drop-down list.

(e)   Enable Headlight On.

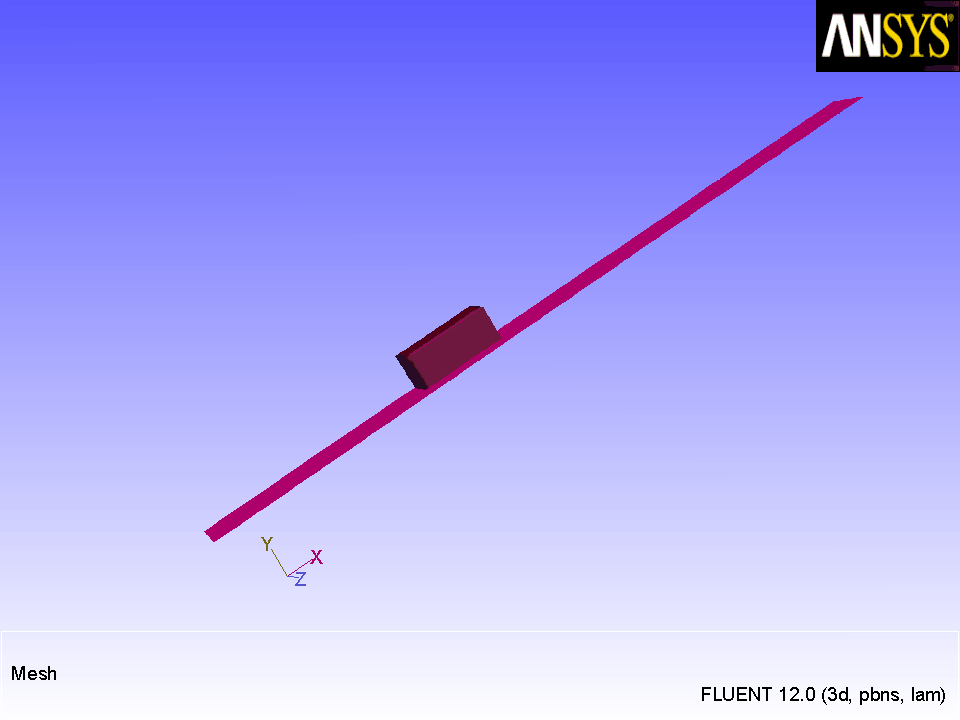
  The Headlight On option provides constant lighting effect from a light source directly in front of the model, in the direction of the view. You can turn off the headlight by disabling the Headlight On option (Figure  24.4).

Figure 24.4: Display with Additional Lighting: - Headlight Off
figure

(f)   Click Apply.

(g)   Similarly, add a second light ( Light ID= 2) at ( -1, 1, -1).

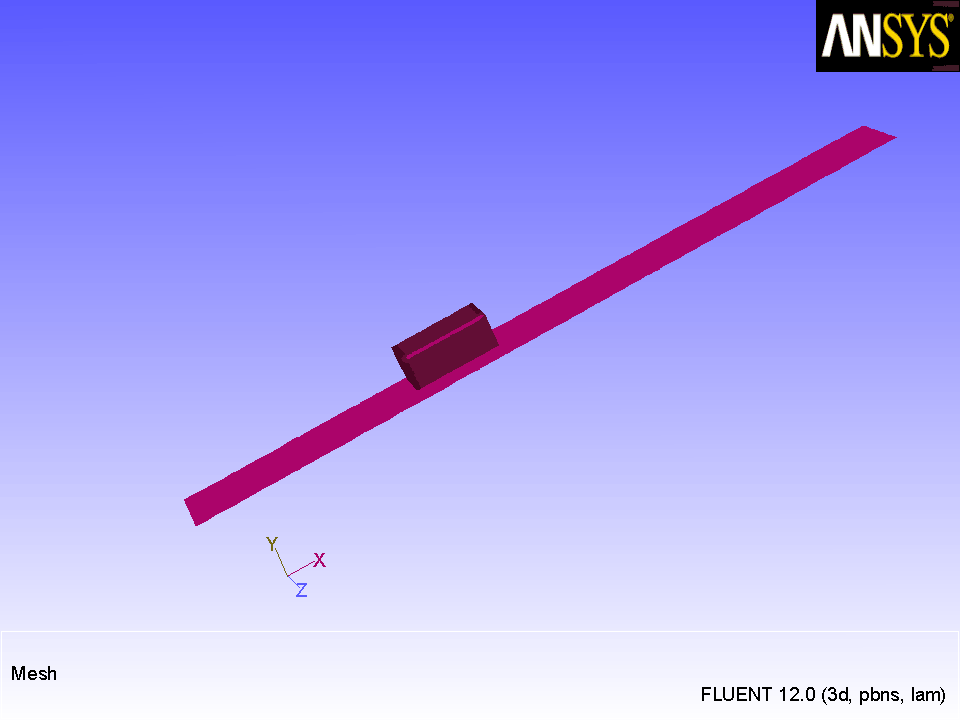
  The result will be more softly shaded display (Figure  24.5).

Figure 24.5: Display with Additional Lighting
figure

(h)   Close the Lights dialog box.

Extra:   You can use the left mouse button to rotate the ball in the Active Lights window to gain a perspective view on the relative locations of the lights that are currently active, and see the shading effect on the ball at the center.

You can also change the color of one or more of the lights by selecting the color from the Color drop-down list or by moving the Red, Green, and Blue sliders.


next up previous contents Previous: Step 2: General Settings
Up: Postprocessing
Next: Step 4: Creating Isosurfaces
Release 12.0 © ANSYS, Inc. 2009-02-09